Wednesday, November 30, 2011

Still on the Farm...

I realize that it's been a long time since I have posted anything about the
but I just wanted to let ya'll know that I'm still on the farm...

And I'm still enjoying being a Farmer's Wife!

So anyhoo...I wanted to use some vintage
fabric in my quilt. 
 So I decided to use a red and gray combo for
#14 because my very favorite
vintage fabric that my grandma
gave to me is in red and gray.

 She was a farmers wife for reals...and I thought it only fitting to include some of her fabric in my Farmers Wife quilt.
The fabric came from her stash that she had for a long time!...she thought it was from about 1950.
It's one of several that she gave to me
that are in 4 yard cuts.
When I asked her why
she always bought 4 yards...
she said,
"Well...that's how much it took to
make a house dress"


Because the blocks are only 6 inches finished...the pieces of the floral aren't very large but I really liked the way it turned out. I have always loved red with gray... 

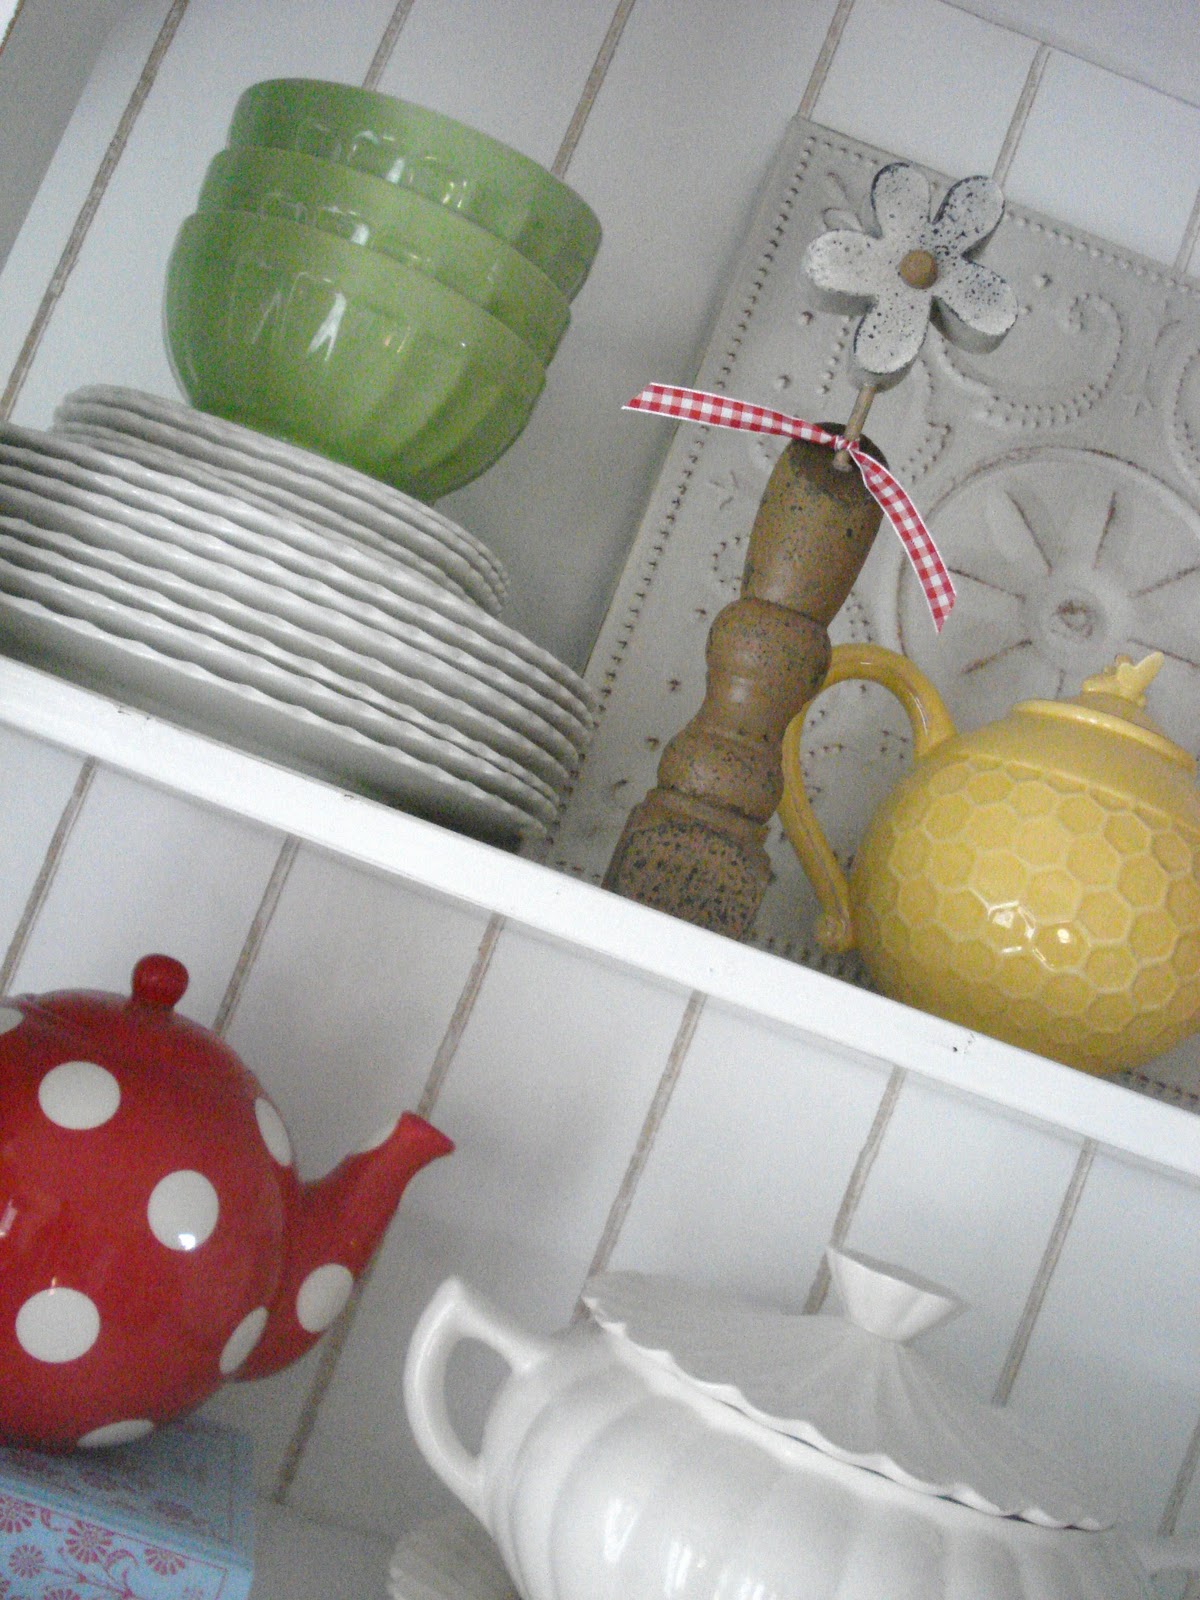
and I think the touch of green
adds a nice pop!

I decided to play with the color combo and set up a little vignette around my quilt block for a photograph.

I usually take pictures in my studio so I grabbed a few sewing related things in there that are red, gray and green.

A fun pair of vintage sewing scissors...

Of course I used my red gingham

I collect vintage toy irons and this green one fit into my little vignette perfectly:)

I added a few old spools of thread
in red, gray and green...

A very old thimble from
 and a sprinkling of green vintage buttons.

I love playing with color...especially using vintage color combinations!


#14
Butterfly at the Crossroads

Fabric Used;
Gray stripe - Cherry Fizz
Red solid - Sew Cherry
Tiny red floral - ?
Gray floral - (my grandma)

I'll be making another block soon to show you!
I hope that you all have a
quilty kind of day my friends:)
xx
Lori

Sunday, November 27, 2011

Making Aprons from Old Shirts...

Well I've told you how much I love Pinterest.
I always find something inspiring while I'm happily pinning away.
Last month I came across a photo that brought back memories from a project that I made when I was in Junior High.

It was a project that we made in our church youth group (Mutual)...they were aprons made from our brothers, dad's or grandpa's old button down shirts.

I can still remember the aprons that I made back then...I used my brothers western shirts...you know...the kind with the snaps instead of buttons.

It's real easy and fun to do.
You can find basic instructions here.

These photo's are from this site where the Pinterest picture originated. 


She has used two different shirts to make one apron and has added a few embellishments and even a log cabin block for the pocket on one.

Here are a few without embellishments or pockets....I like these too...
simple and basic.
I will be making some again for Mr. Honey and for Sterling to wear in the kitchen on Sunday's over their white shirts and ties in between meetings.
(they are probably tired of wearing mine...haha)
I will keep the collar on for the neck...
or I will use a standard butcher apron
as a pattern and
simply finish them off with bias tape.

The idea of re purposing clothing...
or making aprons out of
old shirts is not a new one...
it's been around for a long time!

Our grandmothers lived by the motto
"waste not want not"
and we would do good to live by the same!
I still can hear my grandma saying...
"Use it up...
Wear it out,
Make it do
or Do without"


It would be fun to make a few just for sentimental reasons for Kassidy out of an old plaid shirt of her grandpa's...
I'll have to ask each of them for one.
For her... ruffles would be a must for sure:)
She likes a feminine apron.

See the tutorial for the ruffled front apron above here.


And speaking of feminine aprons...
I wanted to show you this one that my friend Rae Ann made out of an old blouse.
I took this picture of her apron and the pocket below at our Aspen retreat.
She saw the possibilities for an apron in the blouse because of the little red pinstriped fabric, the pleats at the top and the red eyelet trim around the bottom...
makes a cute ruffle apron!


There were darts on the back of the blouse and she just left them in and cut a pocket out of the back for the front. Cute huh?

I loved making my aprons out of old shirts
a long time ago ...
and I'm glad I found the pictures on Pinterest to remind me to make more!

So now you can go look in your own
Mr. Honey's closet or take a quick trip
to the thrift shop.
Look at mens old button down shirts or womens old blouses in a new way...look for an apron inside of them:)
Waste not...want not.
xx
Lori


Tuesday, November 22, 2011

Jolly Jabbering...


If you are wondering why I am showing you random pictures from my little cottage...

I suggest that you
to check out my interview today over at the awesome Fat Quarter Shop blog...
the Jolly Jabber...where you can find out all about them.
Don't forget to leave me some bloggy love while you're there!
Have a quilty kind of day:)
xx
Lori

Sunday, November 20, 2011

Butterfly Quilt...

Last year I told you about my "Autumn Butterflies" quilt that I started.
to read all about it.

While at retreat ... I was able to get a little bit more time to work on it after I finished my Sew Cherry Swoon quilt.

This quilt is the perfect project to use as many different fabrics as you can...for alot of variety.
I have chosen fun prints from my stash
that I that I thought would make a great butterfly and would contrast nicely with
my brown solid background.

I'm making 100 butterflies for my quilt and I am about halfway there...

I have started joining them into rows of
 2 x 10 butterflies.
As you can see, these are wonky butterflies and are fun to do!
I cut the wings 3 1/8" x 6 1/2"....
 and added my brown background pieces
(cut 2 1/2" x 4 1/2")
 to each side of the wing on an angle.
I trimmed them up and sewed the wings to my brown gingham butterfly body.
(cut 1 1/2" x 6 1/2")
You can follow Amy's tutorial just like
I did if you want to make your own!
xx
Lori 

Tuesday, November 15, 2011

Swoon and Sew Cherry...

"Swoon" is one of the projects that I
worked on while on retreat.
If you remember...
I told you all about this quilt when
I started it while on retreat with
my BFF's in May...
right after Spring Market.


I had been anxious to work on it ever since then and I finally had a few days when I could!

After I finished all of the blocks...I laid them out on the large design wall that was set up in the large sewing room at the lodge.

Now they are sewn together...I just need to add the white borders and quilt it!
I will bind it in my
Sew Cherry red gingham
and tuck red ric-rac inside the binding
for a fun finish.

I love Swoon!...after all...
the pattern was designed and given to me by my friend Camille.

I also loved making it with my
 Sew Cherry fabric...
I'm going to hang it on my family room wall as soon as I can!
Thanks Camille...for such a fabulous pattern!

Coming up...I'll show you my other project I worked on while in the beautiful Wasatch Mountains of Utah.
xx
Lori

Saturday, November 12, 2011

Quilting Retreat at Aspen Grove...

I'm back from the fabulous retreat at
Aspen Grove!
I had a great time...
and just take a look at how
gorgeous it was there.

Utah is famous for winter sports because of our mountains and plentiful snowfall in the winter season and we just recieved the first sprinkling of snow last week.

Aspen Grove is about 1 hour away from where I live...located in the beautiful
Wasatch Mountains of Utah.
It's also just right next door to the famous Sundance owned by Robert Redford.

This is where I spent the week...sewing in this beautiful spacious woodsy lodge nestled in the mountains.

It was cold there in the mountains...but we stayed warm and cozy by the fire blazing in a large stone hearth.

We all sewed together in the large room...
sew fun!

There were about 60 of us...

Ironing, cutting, sewing, eating, chatting, encouraging, sharing ideas and giving advice.

Of course we stayed up late and shared lots of stories and food and lots of laughter.

I roomed with my friend Rae Ann... 

and Susann...we were the
3 muskateers and partners in crime:)

Here are just a few pics of the many, many projects I saw that were being 
worked on this week.


This is my little work station.
Next week I'll show you my projects while I was away on retreat this week.
I hope you all have a wonderful weekend with family and friends:) 
xx
Lori
Related Posts with Thumbnails