Yes...I am still painting but I'm making progress!
I thought I would show you the lid of my paint can so that all those who have emailed me asking for the color can see that it is Balmy Seas by Behr. The color is perfect and I am so thrilled with it!
It took me awhile to choose the perfect aqua....but for me...this is it!
I wanted to find one that matches the aqua pantone that I chose to use in my fabric lines perfectly so that I will be able to decorate to my hearts content when all of the painting and flooring is complete.
The kitchen and the hallway walls are completely painted but we haven't got to the floor yet because we stopped to do the guest bathroom at the end of the hall....I'll show you the bathroom in my next post.
Of course I have not had time to arrange my vintage finds on top of my cupboards....
that will come later.
They are all still in boxes stacked in my front room...it looks like an episode of Hoarders in there...I'm not kidding!
I will show you how they turned out
when I am able to
get some time to do it!
I have put all of the handles and knobs back onto the kitchen cabinets
so that we can at least use them now...I'm anxious to get back to cooking:)
I didn't buy new handles because I still love
the spoon and fork handles that I have had
for 9-10 years....they add so much to my vintage farmhouse kitchen style...
don't you think?
I still love the knobs that I have had for a long time too...they are cherries!
Sorry for the fuzzy picture...
Here's a close up of the knob.
I can't remember what brand they are...
I ordered them through an online hardware company that I can't remember the
name of either:)
I already showed you that I painted my little baking cupboard yellow.
For right now I keep my iPad and docking station there so that I can listen to iTunes or my blog playlist or several good books that I have downloaded from Audible.
Those are the things that I listen to....to keep me going while I am painting other pieces of my well loved furniture.
Like this little chair that I painted aqua...
last redo I painted it a jadeite green color.
(all of my favorite furniture pieces have been several different colors...I like to redecorate alot!)
I bought this chair at a garage sale long ago. I remember that I paid 4 dollars for it. A cute grandpa who was a carpenter by trade had built it. He said he didn't need it anymore and so decided to get rid of it.
I love it! It's a very well built,
sturdy and cute little chair.
My children used it when they were small and Sophie uses it now.
I use it too!
I keep it in my kitchen (because I am short) to use as a stool so that I can reach into the top shelf of my kitchen cupboards when
Mr. Honey or my giant fourteen year old son Sterling isn't around!
(Sterling is now 6'1)
I have always brushed the paint on my furniture when I am repainting but for the rocking chair in my kitchen I will be using spray paint to repaint it...it's just too hard to get a brush in all of the nooks and crannies:)
It's red now but I will be painting it
my favorite Apple Green to
freshen things up a bit!
I painted a new coat of white on this vintage shelf that went on the end of a cupboard in a 1930's kitchen a long time ago.
I found it in a thrift shop about 15 years ago and it's been on the end of
my cupboard ever since!
I keep a colorful collection of
pitchers and creamers on it:)
You can see the old black and white floor that we are tearing out and replacing in the background....hopefully in a few weeks it will be wood flooring instead!
But in the meantime I am using the kitchen as my furniture painting station before we replace the floor.
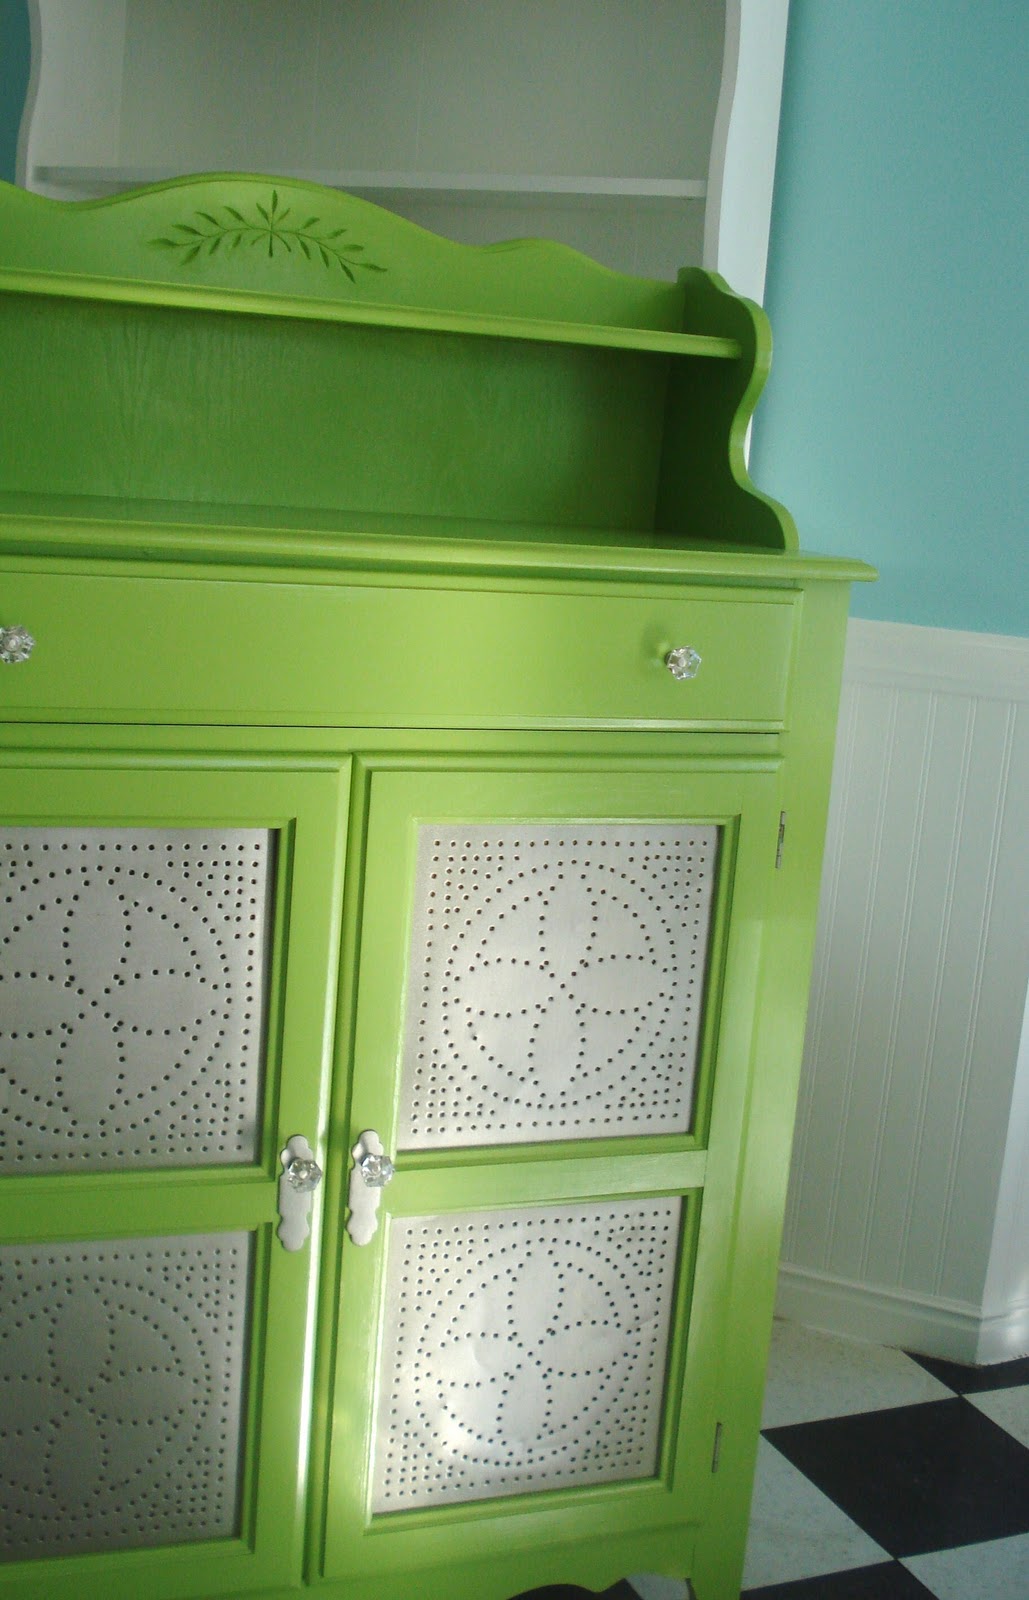
I painted this old pie safe green...
a shade darker than the apple green I will
use for the rocking chair.
Mr.Honey bought this for me as a birthday gift a few years after we were married...
I still love it!
It has punched tin doors...
And I replaced the metal knobs with glass knobs for a little bit of bling!
I like how the metal and glass look together....don't you?
I love the way that the green
looks against the
new aqua walls...
all finished and ready to be filled
with vintage linens:)
I put a fresh coat of white on my
kitchen table and chairs.
I love white table and chairs.
I think white is like a sparkling clean canvas for all pops of color in tablecloths, quilts, place mats and chair cushions that I put on them:)
My farmhouse table has a really
deep drawer in the side...
and that's where I keep my place mats.
I replaced the knob with a glass knob too. They are part of the Martha Stewart
collection for Home Depot.
A cold winter day outside while I am inside warm and cozy with paint and brush and music and words...
and the cold day turns into a cold winters night!
Can you see the church pew in the window?...
we use it for extra seating at the table.
It's now aqua!....the same as aqua as
the little chair...
just one shade darker than the walls.
The church pew was the first antique that
Mr. Honey and I bought shortly after we were married ...and 30 years later we are
still collecting:)
We put a new light fixture over the table...and the very first thing I will be sewing for my new kitchen will be new curtains for the bay window:)
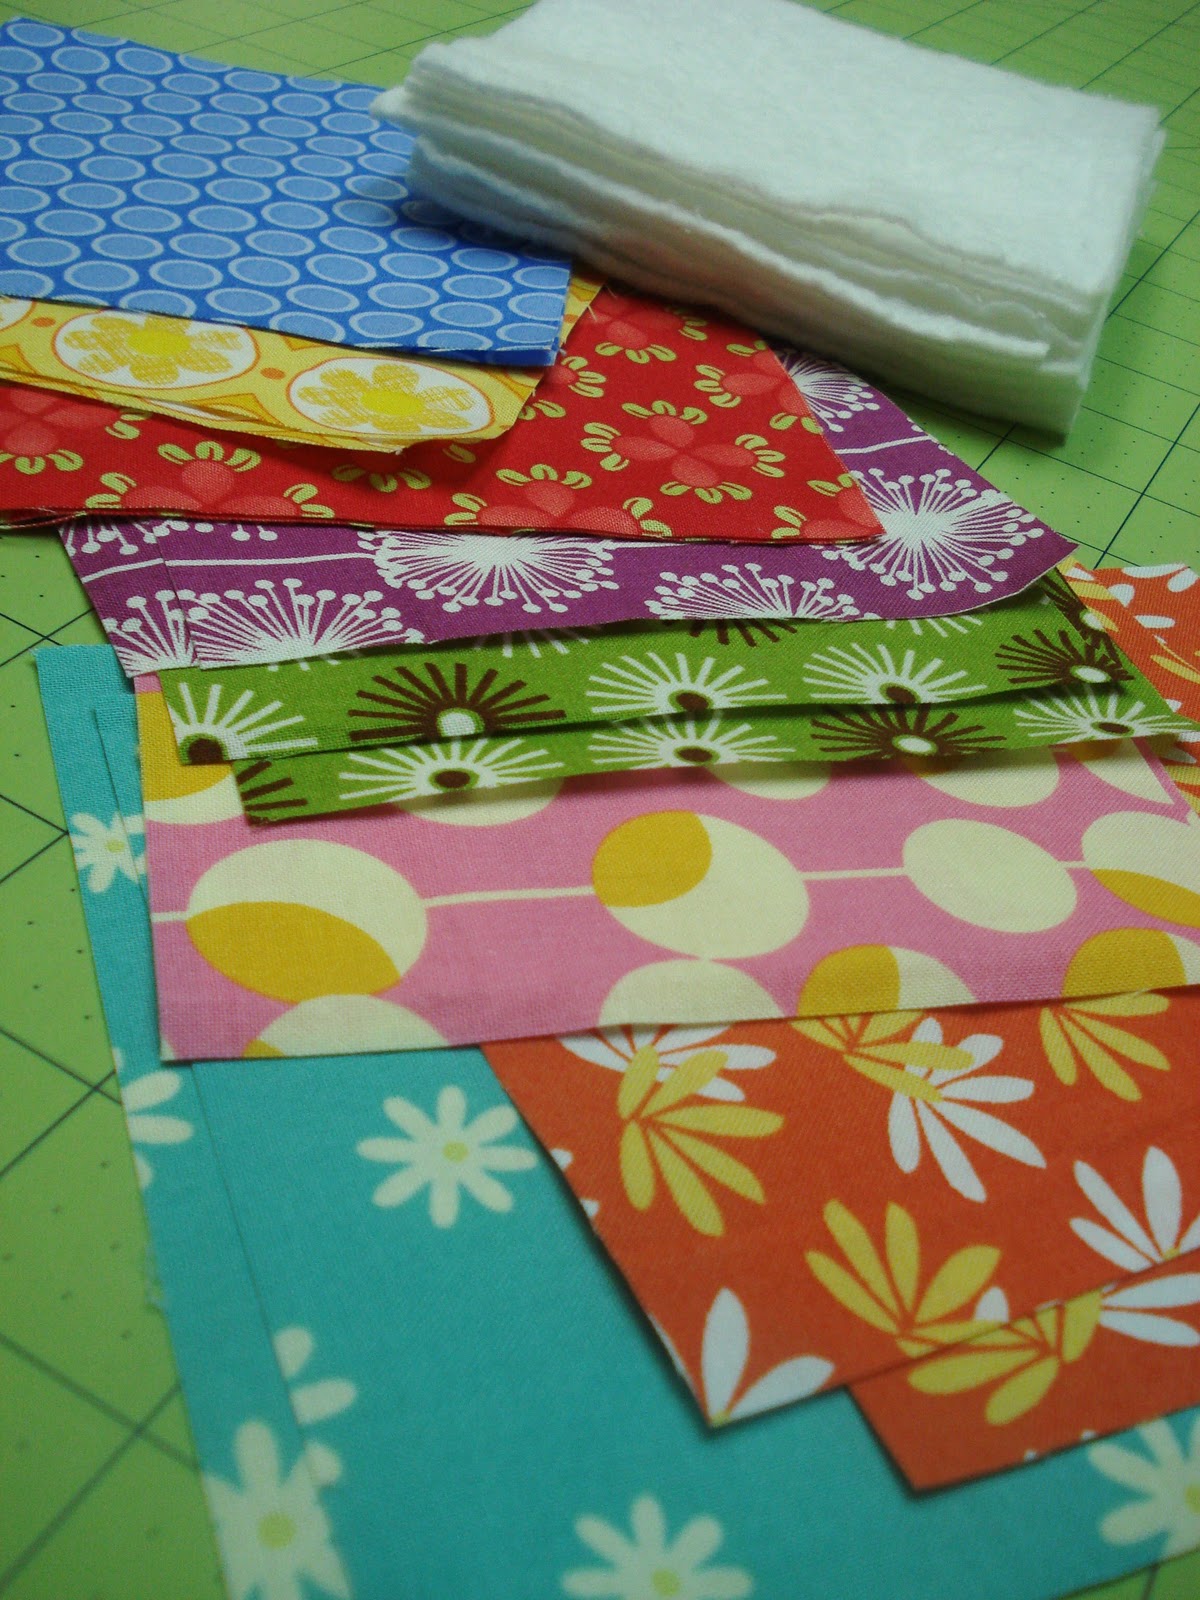
I have decided to use my Sew Cherry fabric
for the curtains.
I'll use the white floral for the bottom cafe curtains and the red gingham for the valance.
I'm lining the back of the curtains with the little red daisy fabric.
I thought I might add the yellow somewhere but I think instead I will probably add
yellow and also red ric-rac
on the bottom of the cafe curtains
for the trim. I want them very simple and vintage looking.
It may sound a little crazy to you that I am making all of my "new" decor look "old"...but hey...that's just how I roll:)
Like I said...I am making good progress and have alot done but I still have alot to do...like the front room.
I'll talk about that more when I get to it.
Until then...have a quilty kind of day:)
xx
Lori