

I've been sewing some really fun and easy little coasters for gifts.

I used 5" squares and I thought that
today I would show you how I made them.

Windham Fabrics sent me this darling charm pack
"Wallflowers" to play with
and I thought it would be cute for these coasters.
My quilty coasters would also be the perfect project
for leftover 5" squares from your quilty stash:)

I used the Omnigrid Marking Rulers Trio
to make my coasters.
You can get yourself a set by clicking
(*they happen to be having a special this month…YaY!)

I laid the longest ruler across the center of one square from corner to corner.
I marked on both sides of the line with a mechanical pencil.

Because the edges are pinked…
you might not be able to get it marked exactly centered…
but no worries!
Just do the best you can.
I square them up afterwards
and there is plenty of room to play with:)

Place two 5" squares right sides together
and sew directly onto your marked lines…
then cut them apart.

Press the seams open for less bulk.

Now mark again like this…
using the medium length ruler in the set.

Place two of them together like this...

and place a pin right into the seams
at the marked lines on BOTH squares
so that the seams will line up after sewing.

Sew directly across your marked lines again…
and cut apart.

You guessed it!…
press the seams open.

Now you will need your
to square it up.

I like to use the
turning mat to trim up my blocks.

Now cut a 4 1/2" piece of batting from
your batting scraps for each coaster.

Place your square directly onto the batting
and do a quick machine quilt on it!
It's not necessary to have a piece of backing fabric for this step.
(but don't forget to use a walking foot)

I quilted across the coaster both ways diagonally
and then 1/8" in from the edge.
I trimmed off the excess batting and laid it
right side up onto the center
of the wrong side of a 5" square.

I folded the sides of the backing squares twice…
with the last fold overlapping the edges of the coaster.
Work with one side at a time...
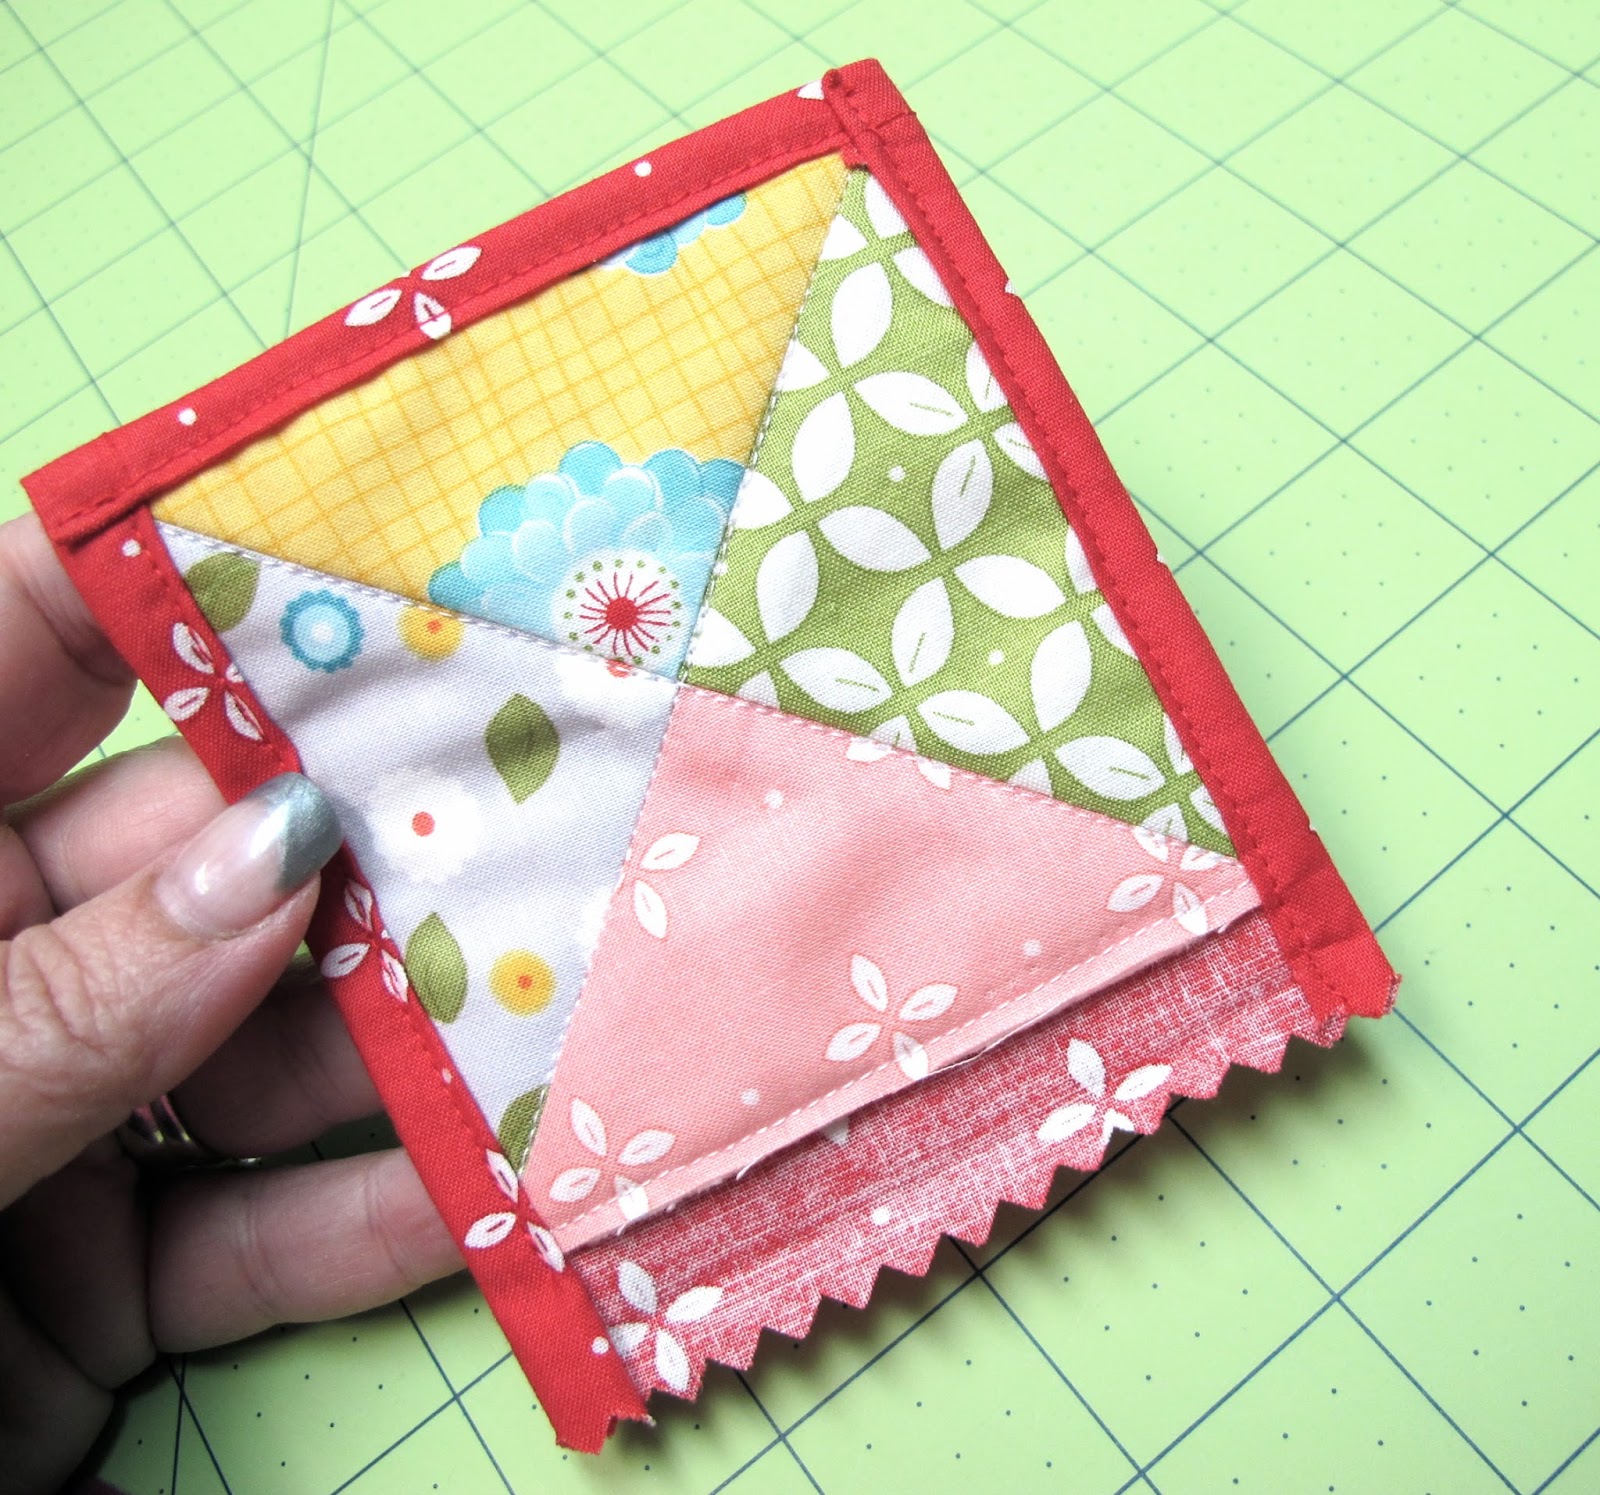
and top stitch the edges of the backing…
enclosing the edges of the coaster within.
You can see on this one that I have one more side left to do.
(use your walking foot for this too)

YaY!
One cute little quilty coaster complete!

Just keep going until you
make as many as your
cute little heart desires:)

I think a set of four quilty coasters…
would be an adorable little
gift for the holidays!!

makes me smile:)

Have a quilty kind of day…
xx
Lori

32 comments:
My goal for today is 3 sets of these in Christmas fabrics for gifts and a set in Aqua, Red and White for me. Thank you Lori for making my day quilty.
A lovely tutorial - thank you. I will def be making some of these. Sue x
What adorable little coasters! And the ribbon is absolutely precious! Thanks for a great tutorial and idea for Christmas gifts. :o)
These are so cute and such a quick and easy gift! Thanks for sharing!
What a great little gift! Perfect for scraps. I love how you did the binding. This is on my list, as is the trio of rulers!
Thanks Lori! I play cards with some ladies every month. This is my answer to some quick easy and affordable Christmas gifts for them.
Every time I open your blog there is something quilty for me to try.And I get to use up bits of my stash. Thanks bunches!
Thanks for sharing a great project for Christmas gifts. I have to get busy. They are very sweet and would make great teachers gifts too.
Thanks Lori! This looks like a fun project that even I can make. :) What a great way to use up stash.
Oh you clever girl! Great gift idea...
Thank you so much!! This is a great project for me. I just have begun to start to learn some quilting and I really need some quick projects to fuel my positive mojo! This will be a fun one for me to gain some confidence. They are cute and yes, would make great gifts.
Blessings,
Susie
Beautiful, beautiful. Love the idea - especially still in time to finish for a few Christmas gifts.
But I would hate to get stains on these - oh well - sew a few more. Right!!
Very cute, Lori. Your fabrics make these so darling.
Great idea for Christmas gifts. Thanks!
I love your practical and easier ways to create beautiful things. Thanks for posting this tutorial. I will be making some of these lovely mug rugs as gifts.
Nice and flat, like a coaster should be. Thanks for the great tutorial.
I am in the process of making my first quilt (on my own and outside of a class) and will have several 5" charms left over. This is a wonderful idea for using those, thank you!
Your site has been an inspiration for this beginner. :)
you make me smile. :) xo k
Love your coasters, and sew easy. Just might be my Christmas gifts.
Ahh so cute Lori! Definitely making these! :) -Al
I always learn so much from your tutorials! Thank you so much from a newbie who loves your projects!
Love the ribbon you used to tie them together. Can you tell me where to get it. Also love the pin with the red heart on it.
Thanks for the great little fun tutorial Lori. Quick question, I was wondering about your pink cutting mat. How easily does it spin? Shen you trim does it move on you or does the pressure of your hand and the rotary cutter hold it in place?
Thank you Lori for another wonderful tutorial! I will be making a few sets for Christmas gifts and one for our home also :)
Super-dooper cute! Will be making these for sure. Thanks for the tutorial
Thanks Lori
Such a gorgeous and simple idea and not only a great stash buster but a great stress-buster too!
To the top of my ever growing list they go xxx
Lori you rock. These are so fast and easy to make. I just finished some tops. Thank you so much for sharing. Sew easy.
Hugs
donna
Thanks Lori for solving my gift giving delima. These are perfect for my Christmas list. I love your tutorial it it detailed, colorful and easy to understand.
Super cute! Fabulous idea for a little quilted gift - definitely going to make some of these!
Thanks for this great idea! I needed a "Thank you " gift for my church Christmas party committee! I am headed to my sewing room right now!
Thanks for this great idea! I needed a "Thank you " gift for my church Christmas party committee! I am headed to my sewing room right now!
These are cute. Thank you.
Post a Comment